- 01252 365 495
Date of Ski Holiday
Ski Chalets
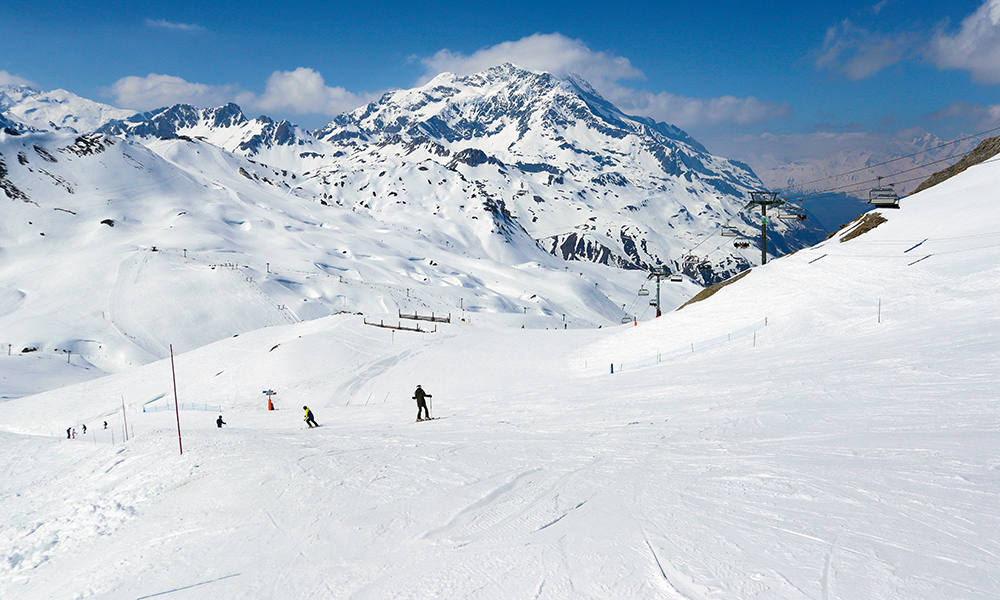
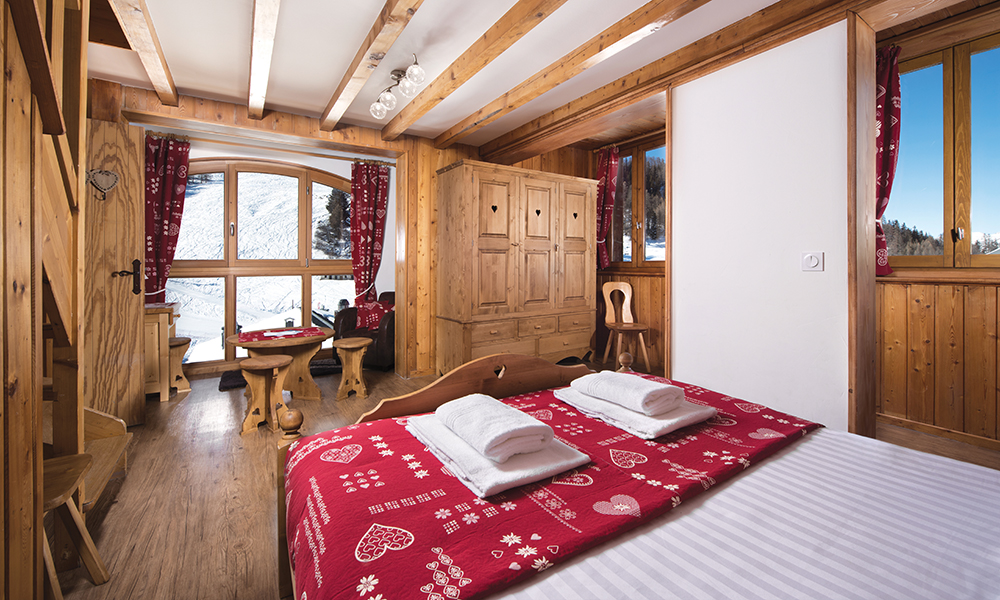
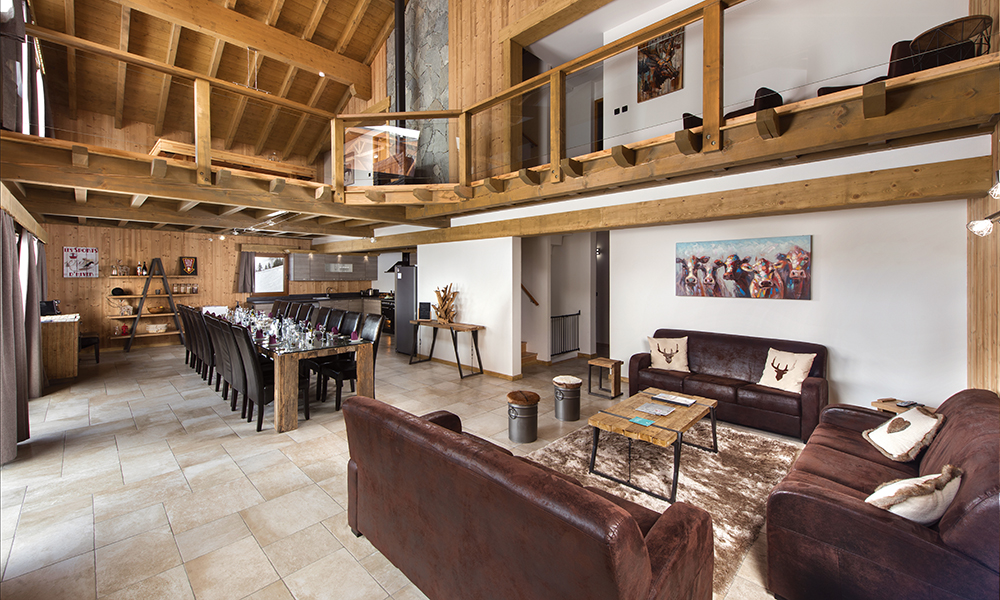
Les Bruyères (Les 3 Vallées)
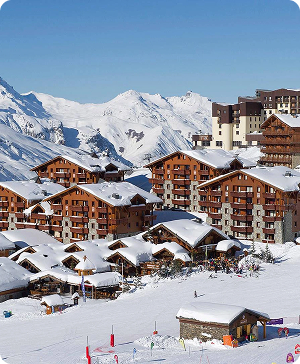
Reberty 2000 (Les 3 Vallées)
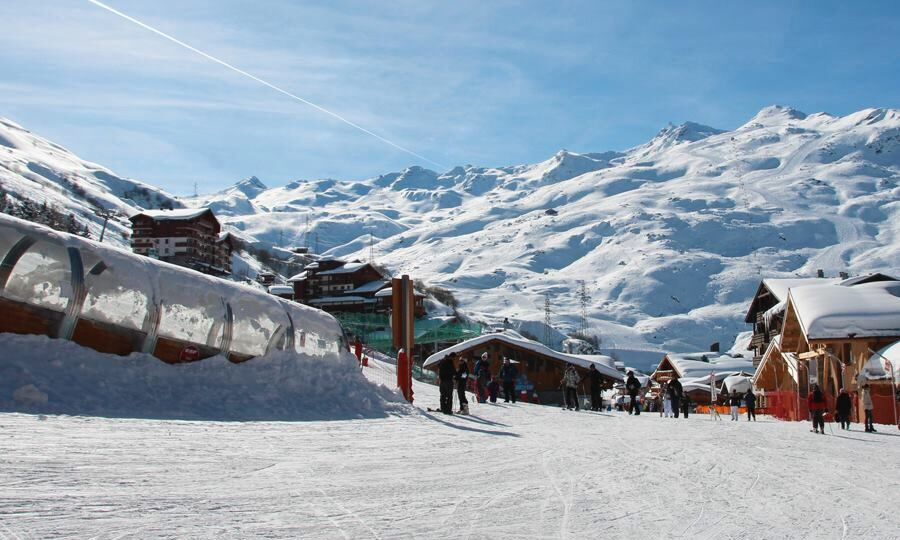
Tignes
Val d’Isère
La Plagne
Les Bruyères (Les 3 Vallées)
Reberty 2000 (Les 3 Vallées)


If it’s flights, transfers, amazing catered chalets & childcare you’re after, then you’ve come to the right place. We have 35 years experience as a family ski tour operator.
Our family ski chalets have been carefully chosen by us for their great locations and high resorts. French family ski holidays at their best.
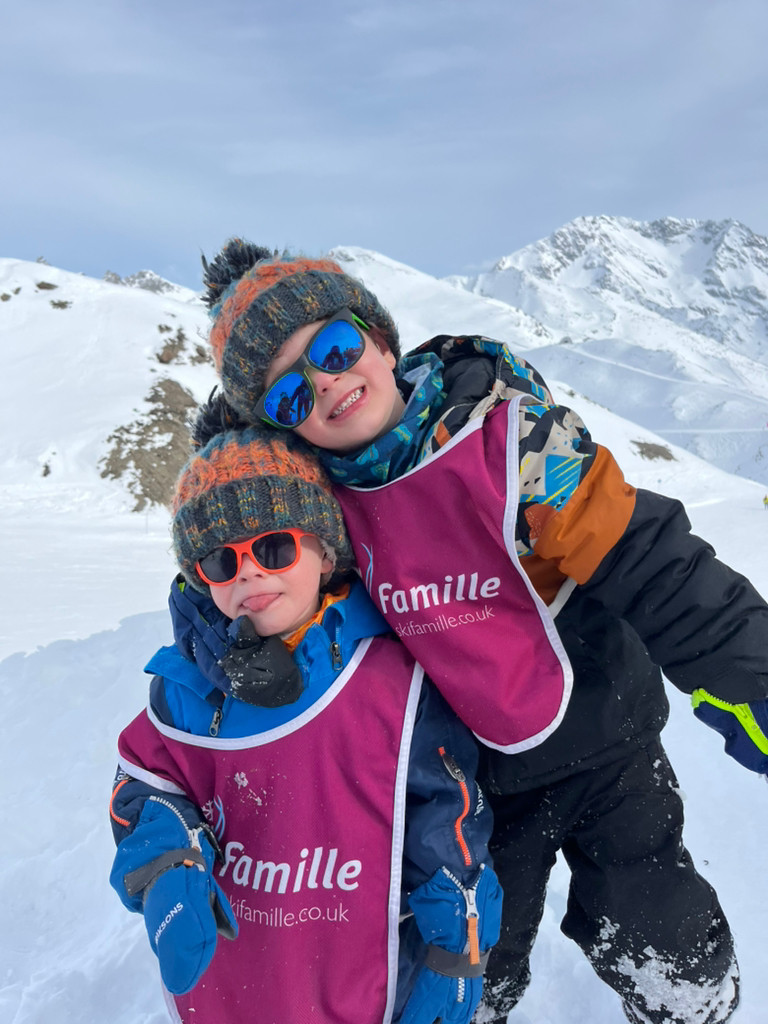
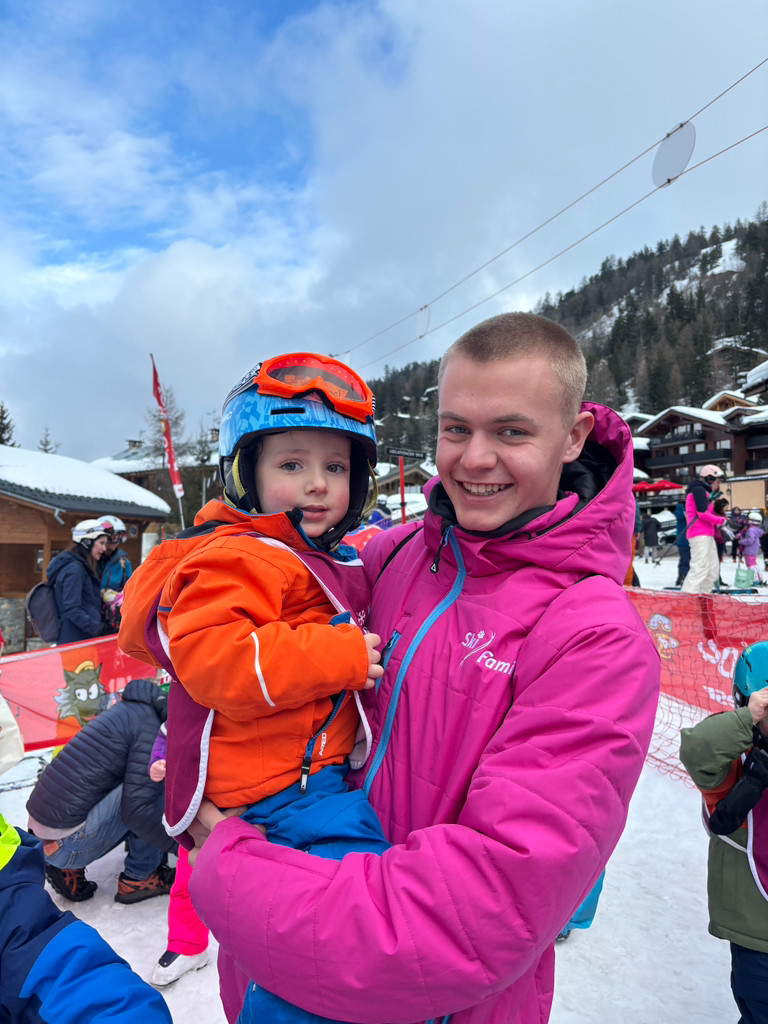
Ski Famille’s exclusive Childcare is available in the comfort of your chalet six days a week. Enjoy convenient & qualified childcare, while you ski.
Ski Famille is ATOL protected. Our charter flights with British Airways & Jet2 flights are included from Heathrow, Gatwick or Manchester.
Posted on GoogleTrustindex verifies that the original source of the review is Google. Fabulous first family ski holiday. Great staff from booking to chalet who looked after us really well. Would highly recommend.Posted on GoogleTrustindex verifies that the original source of the review is Google. We travelled to Cocon des Neiges over Easter with a nearly 2-year-old and a 6-year-old and had a brilliant time. The food was genuinely the first surprise; London gastro pub standard. Both boys also ate well throughout the week. Yoghurts, tea and hot chocolate were out all day to help yourself to, wine was good and free-flowing in the evenings. La Boule next door does solid lunchtime pizza and has a very reasonably priced happy hour. The location works particularly well for young children. The gondola is right outside; no chairlift required as a first experience, which made a real difference for our 6-year-old. The nursery slope with a magic carpet is immediately adjacent, so ski school happens metres from the front door. Nursery: our youngest was with Alex, who was excellent. They weren’t just kept occupied; they went to soft play, did activities, and came back happy. The hotel runs an evening baby listening patrol, though our Nanit monitor reached the restaurant from the room without any issues. Ski school for our 6-year-old; classes capped at 8 (French ski schools run up to 15 apparently), all English-speaking instructors, all Ski Famille children from the same hotel which was great for making friends. Transfers were smooth; comfortable coaches, bags handled for you, food provided for the journey back to the airport at the ungodly hour in the morning. We spoke to plenty of other families during the week and several had switched from Club Med or holidays using large French ski schools and found this hotel a real improvement. We would love to return! (Only negative was my youngest was petrified of Monty the marmot the hotel mascot)Posted on GoogleTrustindex verifies that the original source of the review is Google. Ski Famille and Ski Vertigo are our favourite Ski company. We have never had a bad experience. Recently we took our Grandsons to Val D'isere Chalet Appoloosa. The team there, Faith, Isobelle and Charlotte were brilliant. Food was superb...cakes yummy.. Yes it was a bit of a walk with the kit but it was worth it. Thanks again to all the team at Ski Vertigo/ Famille.. Looking forward to next season. Sian & ChrisPosted on GoogleTrustindex verifies that the original source of the review is Google. This was our first family ski trip with Ski Famille and it definitely will not be our last. From start to finish, everything was faultless. The convenience, the childcare, the resort, the staff, the food, the skiing and even the weather all came together to create an unforgettable experience. The service from the moment we booked to the moment we arrived home was seamless and reassuring throughout. It was our children’s first time skiing and they joined Monty’s Ski Club. They absolutely loved it. The ESF instructors were fantastic and the Ski Famille childcare team were always present and supportive. Seeing the smiles on our children’s faces every day after ski school was genuinely heart warming. The updates on Tapestry were consistent, thoughtful and really reassuring. Mealtimes for the children worked perfectly and the PJ Club running from 7 to 10pm meant they were happily entertained while we enjoyed a relaxed evening meal. The childcare team were incredible, especially Will and Jess, who our children have not stopped talking about since. We also tried the afternoon club for one day and would definitely book this for more days next time as the kids loved every second of it. The accommodation was spotless. We stayed in Suite 6 and it was fantastic. The balcony hot tub was such a treat after a day on the slopes. The space was cosy yet generous, with plenty of storage, a comfortable lounge area with TV, and three bedrooms all with en suites. The dining and communal lounge spaces were equally impressive. The location could not have been better. Ski in ski out was truly just that, with the nursery slope only 100 metres away, La Bulle bar attached to the chalet/hotel for a Baileys hot chocolate while watching the children in ski school, the main resort gondola just a stones throw away, and the ski hire shop right next door. The staff were always available, friendly and more than happy to offer recommendations or help with anything we needed. Access to the Three Valleys was incredibly easy, making it perfect for exploring. We genuinely cannot wait to book our next family ski holiday with Ski Famille.Posted on GoogleTrustindex verifies that the original source of the review is Google. The most incredible family group ski holiday in the Chalet Hotel Cocon des Neige. Everything was fantastic and the most ideal 1st ski experience for our 2 youngest grandkids. I am so glad we introduced them to the slopes with this company, they cannot wait to return, neither can we.Posted on GoogleTrustindex verifies that the original source of the review is Google. Went on a fab ski holiday staying in chalet hotel cocon des neiges with ski famille in March 2026. We stayed in suite 1,5 and 6 travelling as a group of 9 (6 adults, 3 children aged 3,5 and 8). Suites 1-8 are accessed from floor 6. Suites 9-19 are on floor 3. Suite 5 which I stayed in was great, with exceptional views over the nursery slope and mountains. The hot tub was fab and cleaned on arrival. It has stairs to access but once in everything is very child friendly. They provide bed guards, kids toilet seats, stools, stair gate. There was a central lounge area, with 2 bedrooms, both with it's own toilet room and sink/shower room. The room was well equipped with alot of storage and hanging space, fridge, hairdryer, shampoo, conditioner and shower gel. They also provide gowns and slippers on request. The rooms were cleaned/beds made 6 days a week. The restaurant/lounge area is situated on floor 5 (same level as access to slopes). It's was very spacious and clean. We were allocated our own table every evening, and can sit anywhere for breakfast. The food was exceptional. Breakfast was a buffet with cooked breakfast, pastries and cereals. We could also order eggs and porridge on request. Afternoon tea was served daily, which included a different cake each day. Kids had an early dinner 5:15-6pm, served via buffet. Meals included sausages, chicken, fish fingers, pasta Bolognese, meatballs, cottage pie. There was always baguettes available and we could request pasta and cheese. Canapes and prosecco was from 7pm. We had our adult dinner at 7:30pm but you can choose a time that suits you. Main meals included beef steak, Thai hake, chicken supreme, pork loin, duck. Staff day off is Tuesdays so we ate out that evening, but they still provide full breakfast, afternoon tea and kids dinner this day. Whilst we ate, our kids relaxed in the lounge area with a film on the tv. Most other families who had young kids made use of the childcare services provided though. The staff in the hotel were great and plentiful. They were always very efficient and prompt whenever we had any queries or needed help. Being able to drop the kids off at the playroom on floor 6 for their ski lessons was super helpful. Drop off was at 8:40am where they were helped into their ski boots and led to the slope. We then picked them up at 12:30pm from the playroom. We only paid for the morning ski lessons, but there are childcare options all day. The kids loved the ski lessons provided by an ESF instructor. There are max 8 in a group when booked with ski famille. The lessons finished at 11:45am, then they spent the final part of the session in the playroom playing. The location of the chalet hotel was excellent, having ski to door access from floor 5, the nursery slope with magic carpet lift being 50yds away and gondala which takes you straight up the mountain 20yds away. Each suite had its own cupboard locker for ski/boot heated storage at the entrance on floor 5. The kids loved sledging just outside on the slope. Sledges can be borrowed from the playroom. There are some shops/restaurants near by and even a swimming pool with kids area, which which swam at. We loved going on La mlne luge track which was right outside the hotel on the slopes and was €9 a ride or €35 for 5 rides. Overall a fantastic holiday with great location, great food, great accomodation and great childcare options.Posted on GoogleTrustindex verifies that the original source of the review is Google. First ski trip with children and would highly recommend. We've had a fantastic time, been really well looked after, great food and seam-lessly organised making for a very enjoyable and relaxing holiday.Posted on GoogleTrustindex verifies that the original source of the review is Google. Ski Famille help create fantastic holidays and memories for all of the family. We have just completed our second holiday with Ski Famille in Les Bruyeres. We went as a group of 5 with our 6 year old and the grandparents. Highly recommend for anyone looking for a family to meet everyones needs.Posted on GoogleTrustindex verifies that the original source of the review is Google. We have just returned from our 2nd Ski Famille holiday. Last year it was La Plagne and this year Les Bruyeres. Our expectations were surpassed again! We would recommend Ski Famille to any grandparents looking to enjoy time on the slopes with their kids and grandkids. They really do take all the hassle out of it. To quote Arnie "we'll be back"Posted on GoogleTrustindex verifies that the original source of the review is Google. Absolutely love Ski Famille - great concept that works really well. Brilliant staff.
If it’s a catered chalet holiday designed especially for families you’re looking for, then you’ve come to the right place! Ski Famille provide holidays for familes with little ones in mind and have a variety of chalets in family friendly ski resorts for you to choose from!
With everything taken care of, you can spend less time worrying about the details and more time enjoying the slopes, cosy chalet evenings, and those special moments that make a family holiday truly unforgettable. Ski, and relax together, knowing your holiday has been designed with families in mind from start to finish.
Choose from our family-focused ski resorts, Val d’Isère, with its lively village atmosphere; Tignes, perfect for snow-sure skiing at high altitude or La Plagne, offering wide, gentle slopes ideal for beginners. If you’re looking for somewhere more calm and peaceful, Reberty 2000; and Bruyères in Les 3 Vallées, offer a charming, quiet base with easy access to the slopes!
Our optional À La Carte Childcare is provided in the comfort of your own chalet 6 days a week by our childcare staff, nannies and Monty the Marmot. Our team create a welcoming ‘home away from home’ atmosphere the whole family will love.
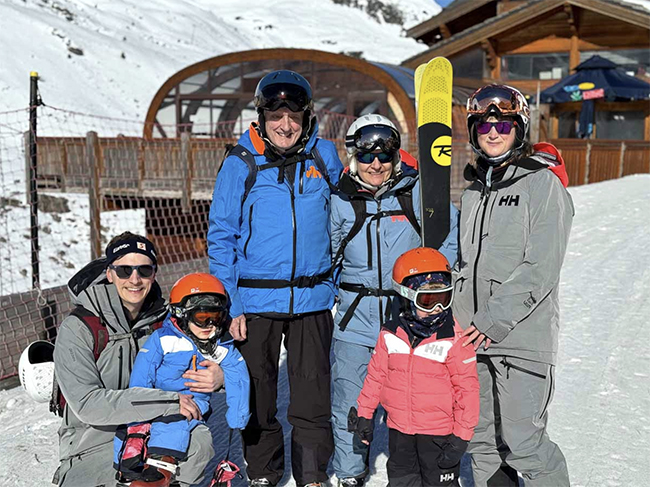
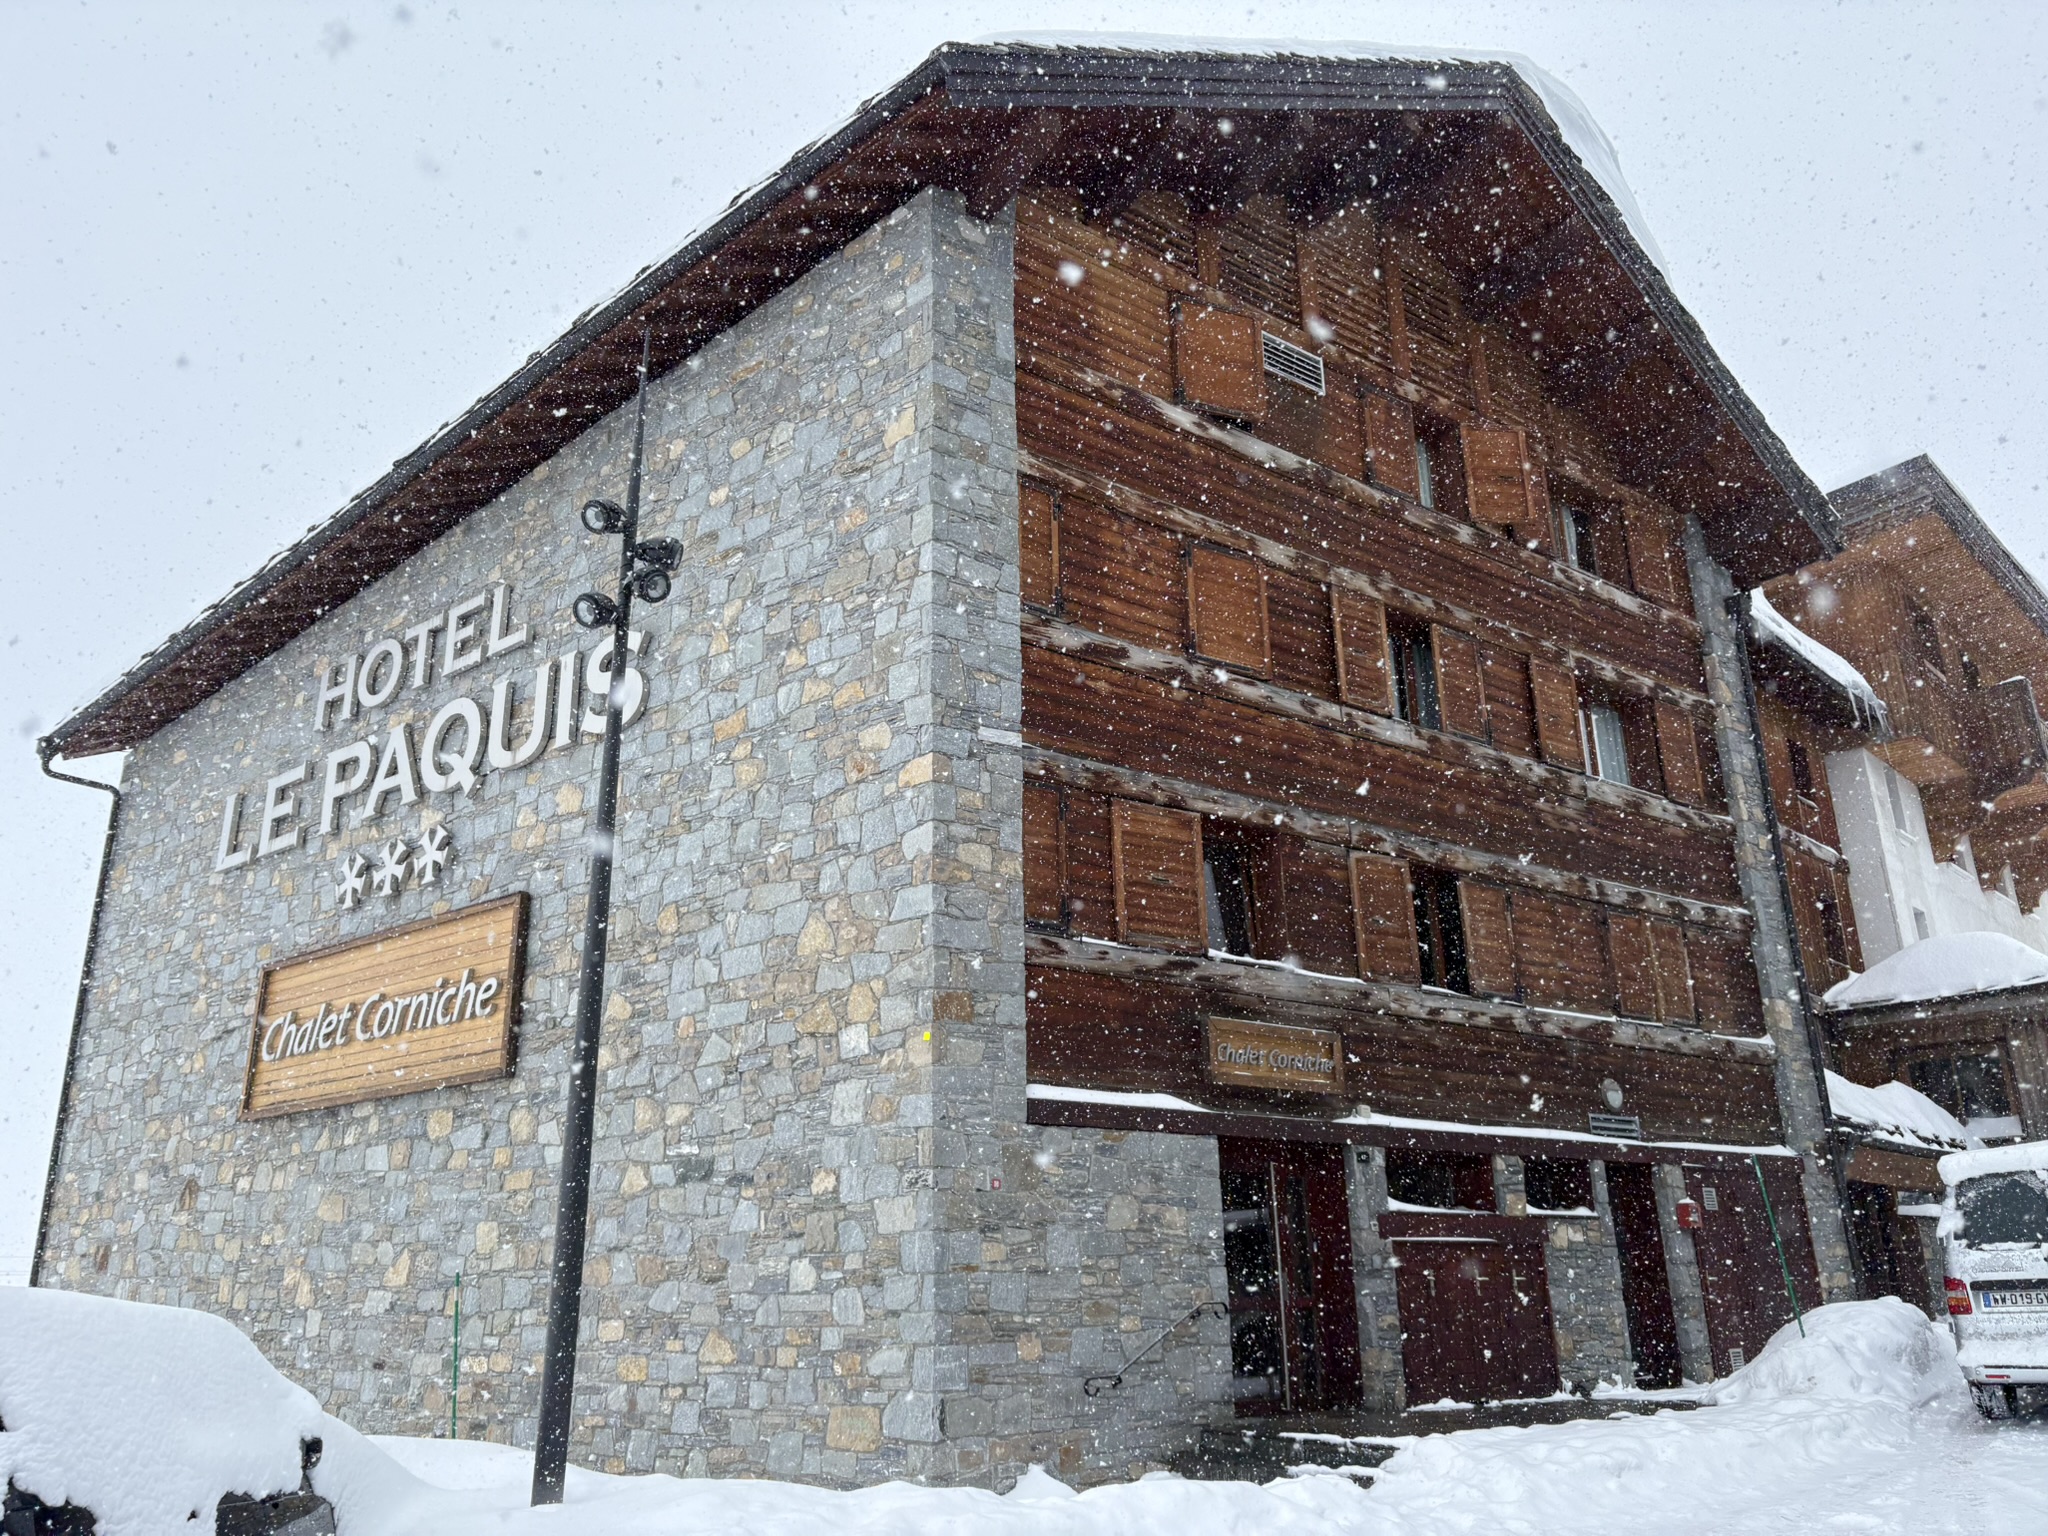
Felice Hardy from welove2ski wrote a lovely recent article about three generations of her family staying together at our Chalet Hotel Cocon des Neiges in Les Bruyères (Les 3 Vallées)
Ski Famille specialise in ski family holidays in France. We take a number of grandparents (silver skiers) with us every week. Our ski chalets and our chalet hotel has rooms that cater for grandparents.